Recently I have begun receiving many questions about Procreate. As a result, I decided to write this post as a sort of Procreate tips for beginners guide. Often we are told when we are attending a webinar or training, “Don’t be afraid to ask questions!” or “There are no stupid questions!” nevertheless, many of us don’t raise our hand and ask.
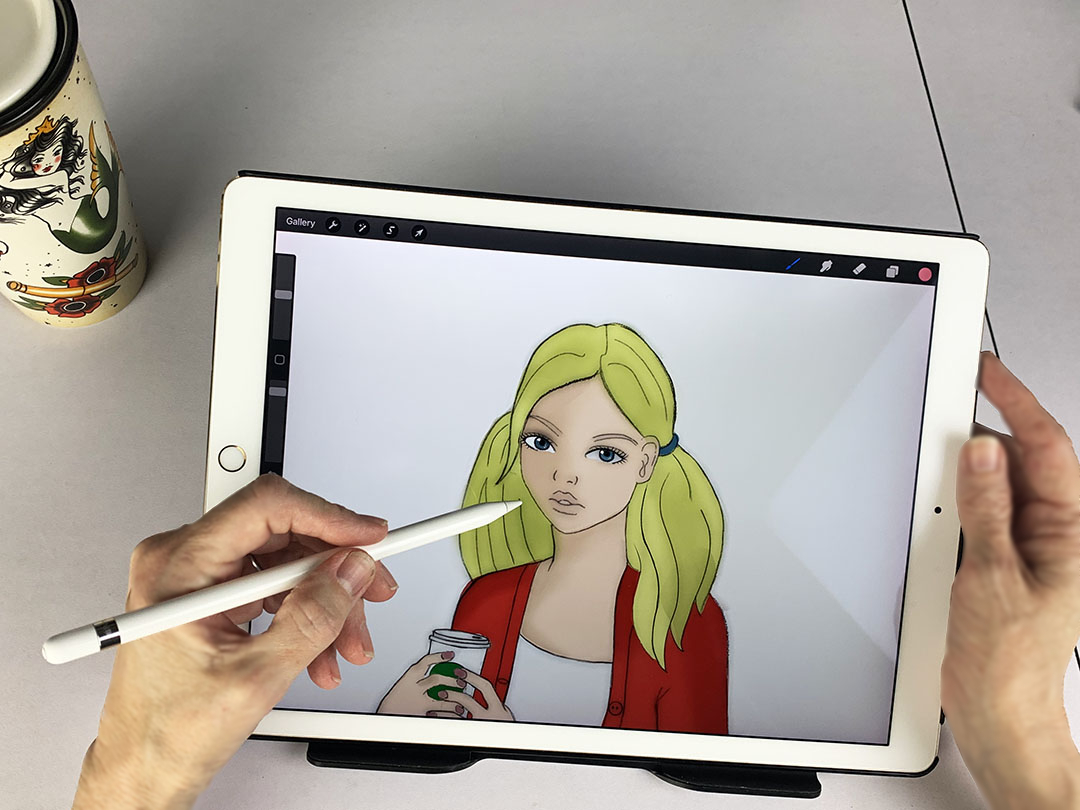
First of all, Procreate is a drawing app that was developed in 2011. For over 10 years, it’s ranked in the top 10 on Apple’s app store for most downloads. This app allows you to draw, paint, and even create animations using an Apple pencil or even your finger along with an IOS tablet or phone. Recently they added 3D!
Procreate costs only $12.99. This is an excellent bargain if you compare it to the monthly subscription for Photoshop, and especially if you already own an iPad. Also, if you are not sure whether digital drawing is for you, it is significantly cheaper than Clip Studio Paint and is a one time purchase.
These are the 3 things you need to get started:
- an iPad
- Apple pencil generation 1 or 2
- Procreate app
And a couple of additions I find helpful:
- A screen protector (I use one called Paperlike. It makes drawing feel a little more like drawing on paper instead of glass)
- A sleeve for my pencil. Apple pencils are the size of a standard pencil and have a very smooth finish. As a result, I find my fingers start going numb after a long drawing session. Whereas when I draw with my Wacom pencil, I don’t have this problem. A sleeve helps alleviate this problem somewhat.
Apple pencils now come in versions Generation 1 and Generation 2. Note: If you are purchasing an Apple pencil, make sure to check which versions of iPad it is compatible with. The main difference between them is Generation 2 pencils can charge wirelessly, while Generation 1, like I have, needs plugging in to charge.
How to Charge Your Generation 1 Pencil
There are 2 ways to charge your Generation 1 pencil:
- Remove the cap and insert your pencil into a phone or tablet power socket.
- Use the adapter that came with your pencil. Connect it to your phone cord and plug it into an outlet.
Swipe left to right on your iPad screen. This brings up a side menu showing your charge level.

Procreate Tips for Beginners Guide to Basic Tools
In this post, I will only review the most basic features as though you have never opened the program. However, many of you probably have been drawing on Procreate for a while. I tried to arrange the remainder of this article in a format that makes it easy to quickly find the tool description you are looking for.
If you just downloaded the app, look for an icon like the one below. Then follow along step-by-step through this Procreate beginner guide. You’ll soon be creating, opening, and saving your documents quickly. Best of all, you’ll soon be drawing!
Procreate Tips for Beginners Guide Basics to Start Learning Now
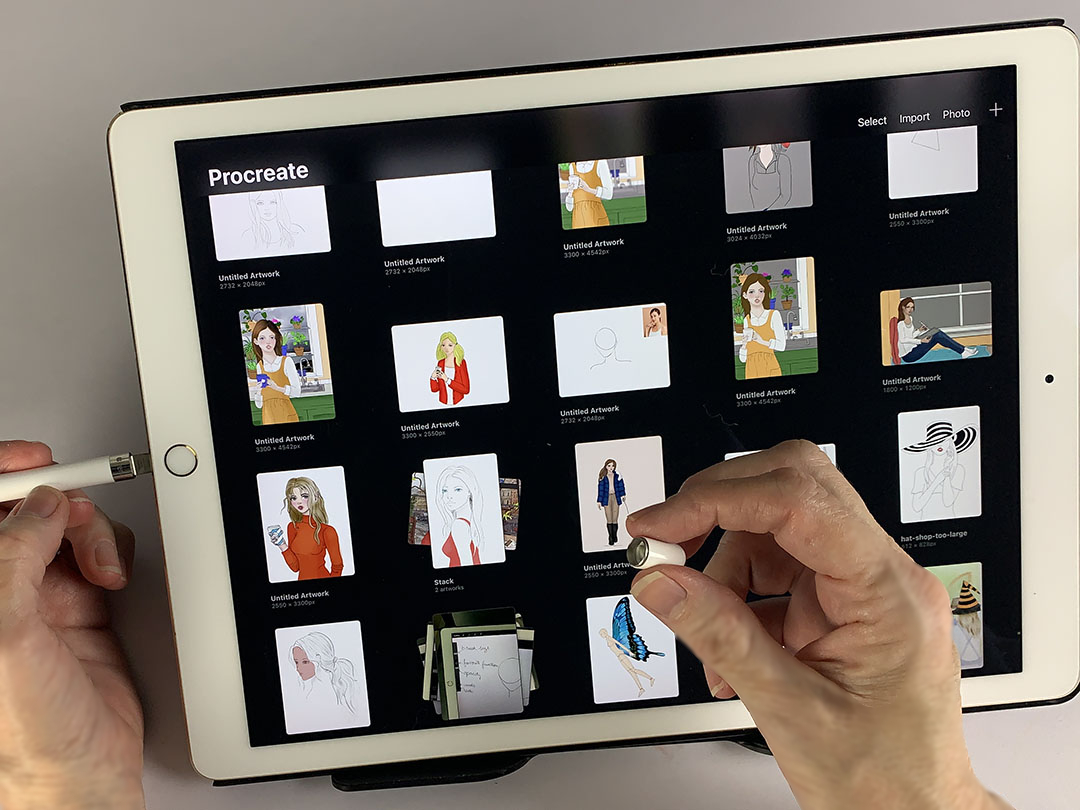
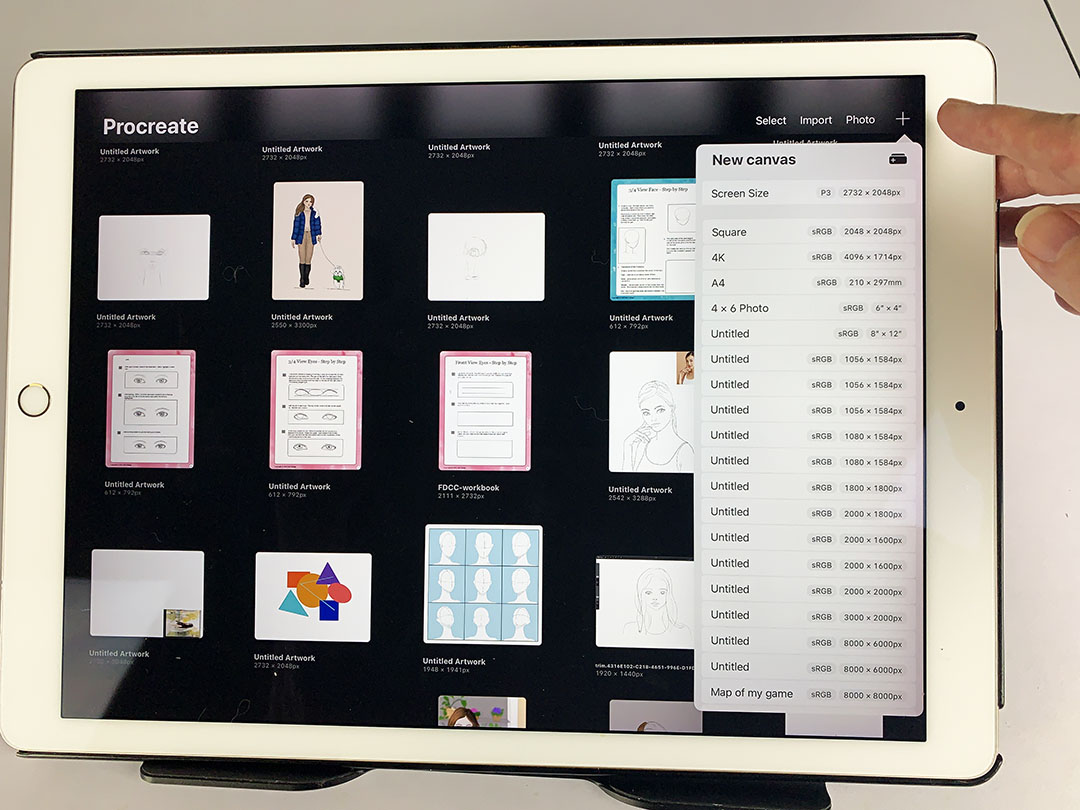
Open a document – tap the + in the upper right menu and select your document size. I usually opt for Screen Size.
Close a document – tap the word Gallery in the upper left menu. (This also automatically saves.)
Saving – when you press the word Gallery, your document automatically saves. Here’s another way to save: open the Actions menu, choose Share from the top menu, and pick a file type. A window pops open. On the lower part of the window are options to Save Image or Save to Files.
Renaming a Document – open the document in Gallery view. Tap the title below the image, and type in the new name.
Procreate Beginner Guide to Using the Side Bar
You can move the side bar to either side, which makes it more convenient if you are left handed.
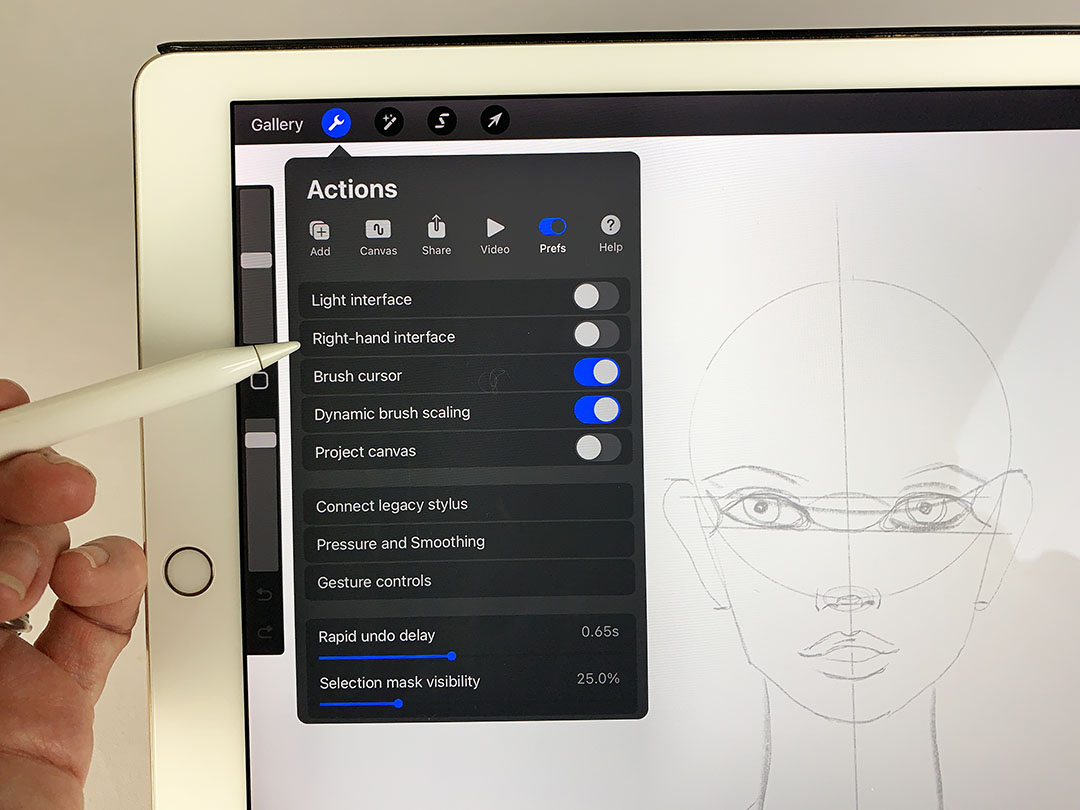
To do this, tap on the icon in the top left menu that looks like a wrench. (You need to have a document open to see this menu.) This opens the Actions menu. Next, click on the Prefs button in the horizontal menu at the top. After this, choose whether to turn the Right-hand interface on or off. If it is clicked on, the side menu appears on the right. Whereas, if you click off, the side menu appears on the left.
The side bar menu has scroll bars to adjust brush size and opacity, do and undo arrows are at the bottem. Also there is a square button that brings up a menu of frequently used actions.
- Brush size – top scroll bar
- Opacity – bottom scroll bar
- Do and Undo – arrow at the bottom
- Square icon – set frequent actions
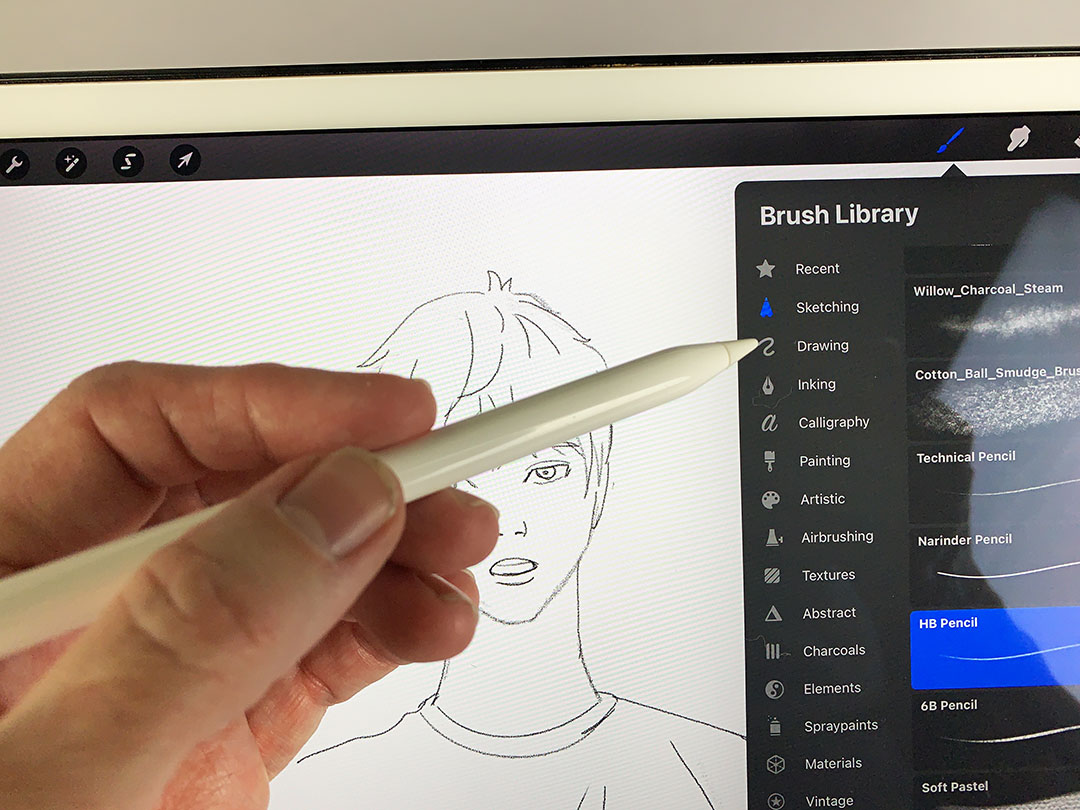
How to Choose a Brush
Click the brush icon in the top right menu. This brings up the brush library. The list of brush types is on the left, and specific brushes in that category are on the right. Procreate has a wide selection of brushes. In addition, both Gumroad and Etsy sell brushes.
My favorite standard brushes are from the Sketching Section. I like using the HB Pencil and the Procreate pencil to start my drawings.
This same library is also available when you click either the smudge or erase tool. The smudge tool smears or softens your lines. It is to the right of the brushes tool. And the erase tool is to its right. So depending on the brush you choose, you can erase completely or erase it more artistically.
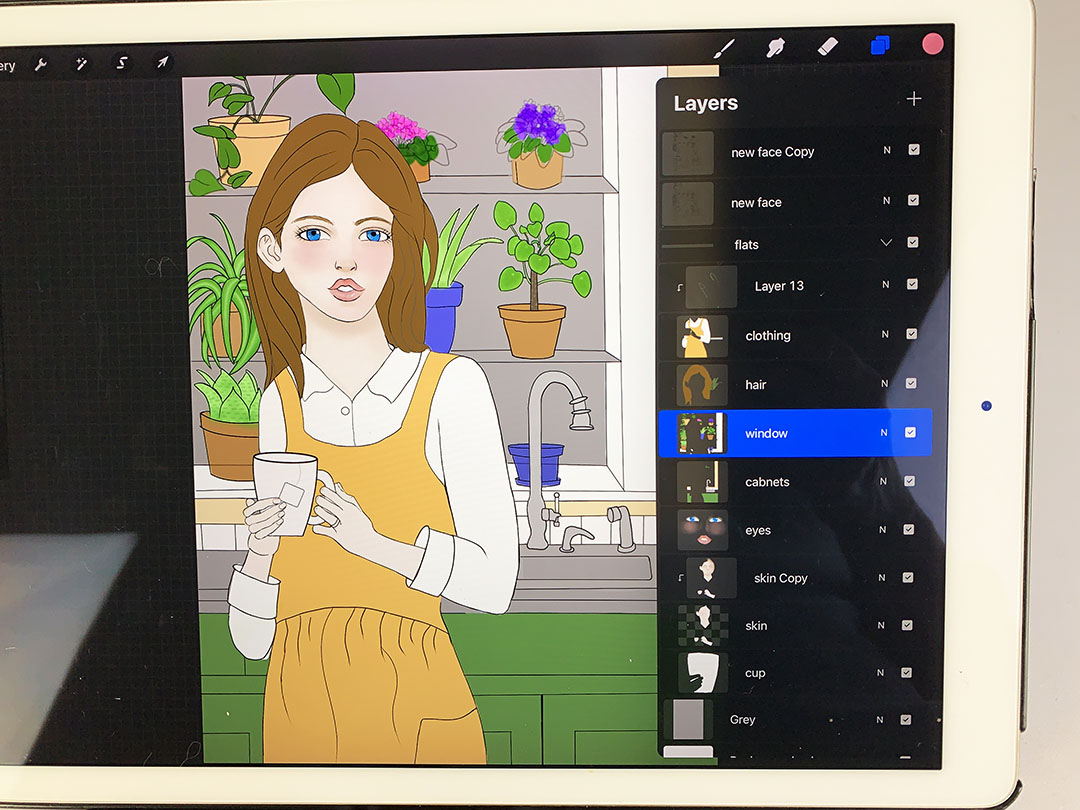
Procreate Tips for Beginners Guide to Working with Layers
The last icon in the top right menu is the layer icon. It looks like stacked papers.
- To add a layer, click the +
- By tapping the N on any layer you bring up a drop down menu of advanced features. I like to adjust the opacity of a layer here by dragging the bar at the top of this menu to the right.
- By double tapping on the highlighted layer, you open another menu that appears on the left and offers common functions such as select, copy, paste, etc.
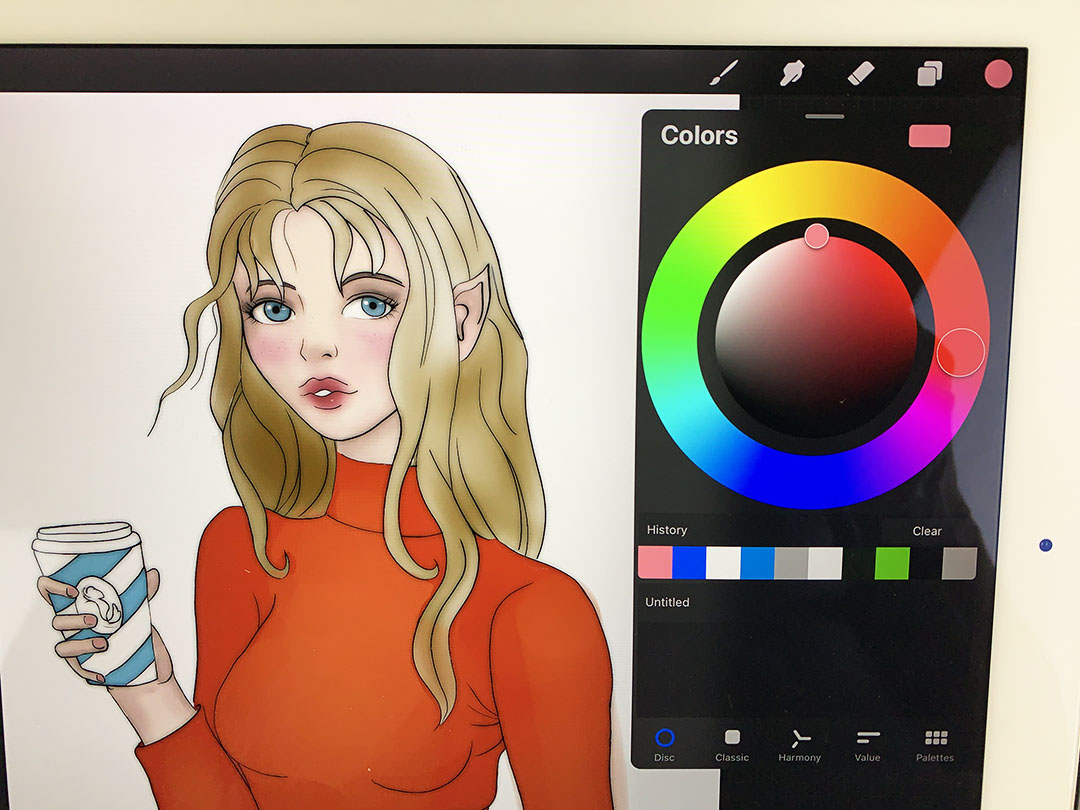
Procreate Apple Pencil Tips to Change the Color of Your Pencil
Notice the circle in the top right corner of your document. It most likely will be black. When you click it, a colored disk comes up.
You can also select colors in other formats such as:
- Classic
- Harmony
- Value
Or create your own Pallets with the last option. All of these choices display across the bottom of the menu. If you want to enter a hex color, choose Value.
Troubleshooting When Your Stylus Won’t Draw
Once in a while, I start drawing on my iPad and nothing happens. Almost always it’s something simple. For example, I accidentally changed the color of my ink to white, or my pen isn’t charged. Here is a list of some things to check before you ask a teenager for help, and possibly end up feeling foolish like I sometimes do.
- Check that your brush tool is activated, and not the eraser. (The icon in the top right menu should be blue.)
- What color is the circle at top right? Make sure it’s not white.
- Is the opacity lowered?
- Make sure your pen is charged.
- Check your Bluetooth connection to make sure it is on.
However if none of these suggestions work, take the cap off your pen and insert it into to charging socket. If it’s still not working, ask a teenager or someone on a forum for help.
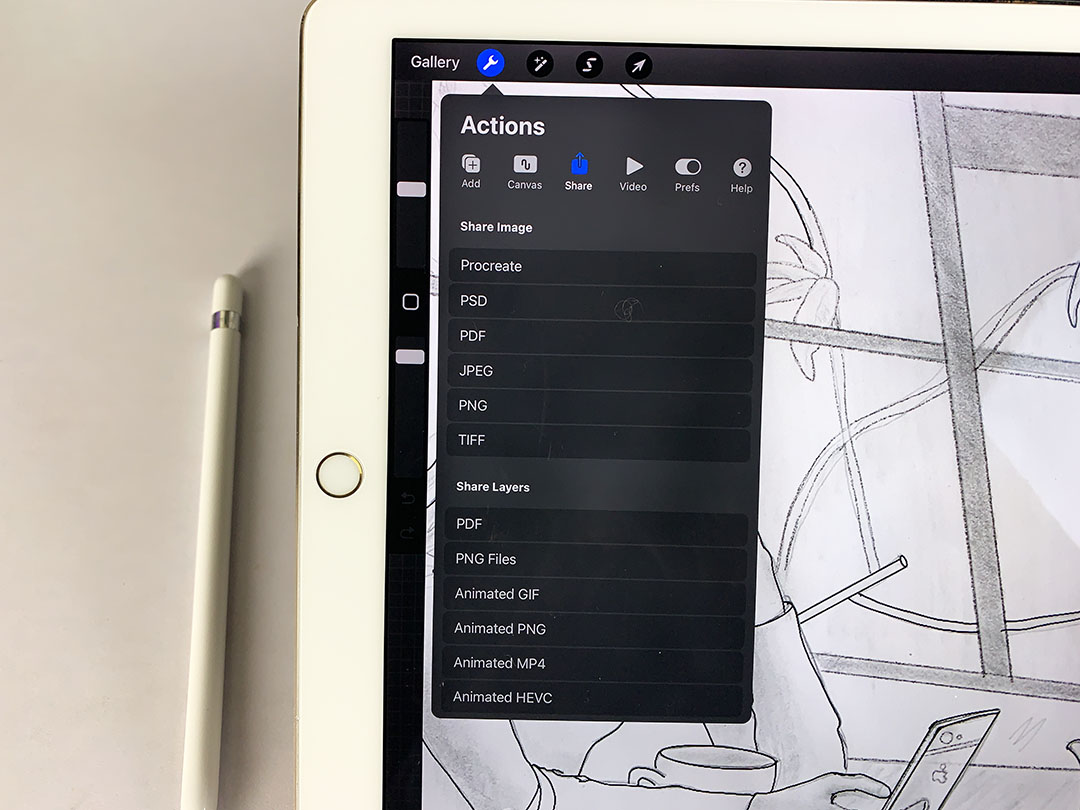
Now Share Your Work
Whether you want to transfer your drawing to a computer or email it to someone, sharing files is easy! Procreate allows files to be exported in these types: Procreate, PSD, PDF, JPEG, PNG and TIFF. JPEG and PDF are by far the most popular.
- Firstly, bring up the Actions menu (wrench icon)
- Next, select Share from the top menu.
- Finally, choose your preferred file type.
Procreate then asks how you want to share. I most often use AirDrop if sending to another Apple device. Otherwise, I attach in an email. You can also share your artwork directly on social media from the Actions menu. This menu also allows copying, printing, or saving into a file on your iPad
Where to Find More Help When You Need It
If you are looking for more Procreate tips for beginners that cover some different functions, I suggest checking out A Basic Beginner’s Guide to Procreate after you finish this article.
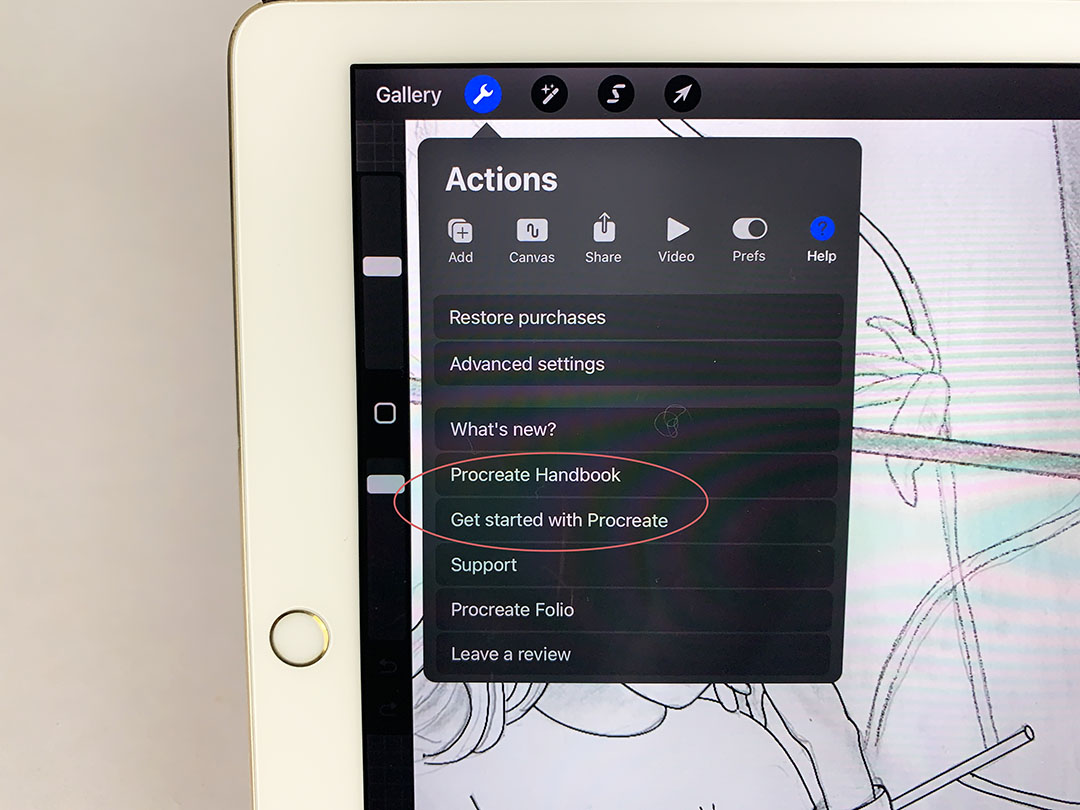
Procreate provides an excellent tool right in the app to learn more and will be the most updated. There is no help button in the top menu. In Procreate, the help button hides in the Actions menu. Remember, it’s that button in the top left menu looks like a wrench. Help is on the top horizontal menu at the far right.
When you click it, another menu comes up. My favorite selection on this menu is Procreate Handbook. Clicking this takes you to a searchable off-site webpage where you can either type in what you need help with or search by category.
Also, another option on the Help menu that is worth having a look at is just below the Procreate Handbook, and it is called Get Started with Procreate.
Drawing on the Go
Procreate became the first major drawing app to take with you on your iPad over a decade ago. It has now been joined by Clip Studio Paint, and the less popular Adobe Fresco. So if you love getting out of your house for a bit and drawing in the park or sitting in a cafe sipping your latte while sketching your surroundings, consider giving Procreate a try.
Also, transferring your drawings between programs is easy because you can save your files in various formats. I oftened start my drawing in Procreate and then airdroped it to my computer. Later, I continue my sketch in Clip Studio Paint on my larger Wacom screen. However, now that I can use Clip Studio Paint on my iPad, I do most of my drawings there.
Final Thoughts on the Procreate App
In conclusion, Procreate is an excellent tool for artists of all levels. With its many features, Procreate can seem overwhelming for beginners, so I hope this Procreate tips for beginners article has helped you. I enjoyed using Procreate on my iPad for several years. But often I wanted to continue working on my drawing on my Wacom tablet where I can use a more comfortable and fatter stylus. So when Clip Studio Paint developed an app, I quickly switched as it just makes things easier. Also, Clip Studio Paint is a more rebust program that even rivals Photoshop and allows me to pose figures for reference.
However, if you are just starting out exploring digital drawing, Procreate is a great option without having to get a yearly subscription. With these tips, you should now understand what you need to get started. Remember that practice makes perfect.
The more you use Procreate, the more comfortable you’ll become with it. These tips will make drawing on Procreate surprisingly easy and fun. Happy drawing!