meta: How to make your next birthday the best ever no matter how many candles are burning on your cake. Follow these birthday ideas to make your day special.
Last week we celebrated the birth of a new year. Maybe you were like me, sitting on your sofa having a champagne brunch, and watching the Rose Parade on TV New Year’s morning. Also like me, you probably already have a long list of resolutions. Nevertheless, here is one more:
Make your birthday in 2023 the best one you have ever had, no matter how many candles are on your cake this year. Therefore, here are some birthday ideas for your own special day.
My birthday is tomorrow, less than a week after New Year’s day. It pops up when I’m still feeling sad about the Winter holidays being over.
In the past, I often returned to school after Winter break on my birthday.
One year, I remember walking into the French classroom my first day back at school from the holiday, and my teacher had written, “Bon anniversaire, Annick!!!”, in large letters across the blackboard. (Annick was my name in French class.)
I’m sure my teacher meant well, and thought having the class sing to me in French was one of her best ever birthday ideas. But for me as a shy teenager, it wasn’t the best start back to school after the holidays.
It’s Your Day!
So never schedule anything that you don’t want to do on that day. Don’t go to the dentist, have a job interview, or meet with your attorney.
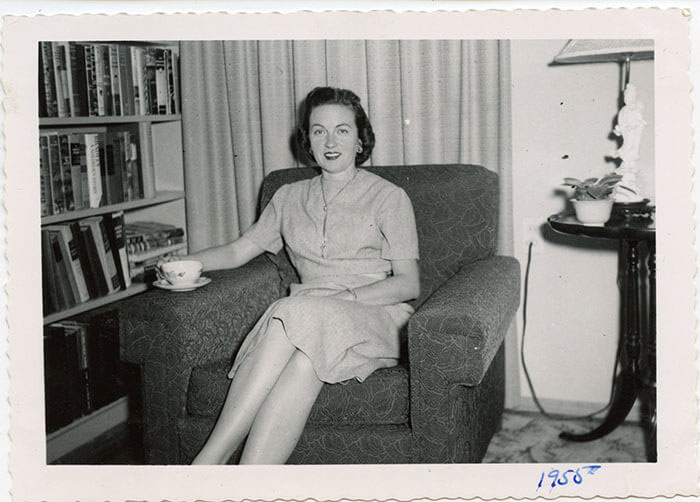
It’s a day to let yourself feel special. To let your friends take you out to lunch, or to send you flowers. Feel gratitude for everything. Many of us are so used to helping others, we feel uncomfortable letting anyone wait on us.
Birthday Ideas to Quash the Dread of Growing Older
As we get older, a lot of us start to dread birthdays. At the age of 15, I told my sister-in-law that 25 was over the hill. Ha! She promised to remind me of that when I turned 25, but thankfully she forgot.
Birthdays become a reminder that we’re getting older. Quite a few years ago, I stopped thinking about age. For me thirty was the worst thing that could happen, and now it’s over and gone. I don’t think about my age anymore when my birthday comes around, or on any other day, for that matter.
Scientists are now verifying how much our thoughts control our health and our aging. They have discovered how the plasticity of the brain is not something found only in children.
Include Some of Your Favorite Things
If you think back through your birthday memories. What jumps out at you as your best birthday ever? Use that to jump-start your birthday ideas whether you are planning a special day for yourself, or someone close to you.
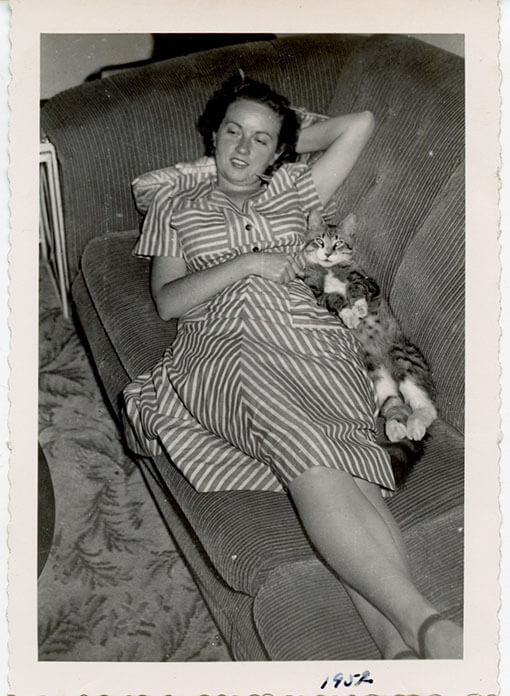
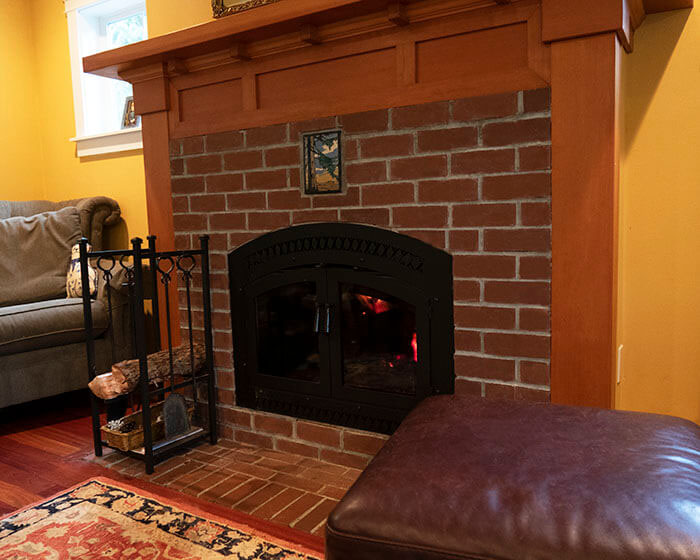
For me, it isn’t some big celebration or party. It isn’t even going to a fancy restaurant in the city for dinner. I prefer snuggling up on the sofa with a fire blazing in the fireplace, an afghan covering my legs, a cat on my lap, and a nice cup of tea. And maybe rereading one of my favorite novels. Probably Jane Austin.
It’s knowing for one day I can do or not do whatever I want. Now that I am grown up, I never have to go to school, or work on my birthday if I don’t choose to. If I want to spend the day reading a novel, going for a long walk in the forest, or the beach, I do. It’s my day.
Usually I go out to lunch, and then have chocolate cake after dinner. Without guilt.
Two Female Friends Meeting Sitting Outside Coffee Shop On City High Street
Birthday Ideas for Planning a Wonderful Day:
Take the day off from work or school
Sleep in
Go get a coffee, and linger in a cafe talking with a friend
Let your friends take you out to lunch
Buy yourself something you’ve really been wanting, but no one else will probably buy you.
Send your mother flowers. Don’t forget she’s why you’re here.
I love going out to lunch on my birthday. If you don’t have anyone special in your life right now, or your friends are all at work, be brave and go by yourself. Bring along a good book, and go somewhere you won’t feel awkward eating by yourself.
Just Do What Makes You Happy
Maybe you are more extroverted, and you like a big celebration. If that’s you, and you love a party, who better to look to for advice than Martha Stewart? Check out Grown-Up Birthday Party Ideas on her blog.
Or perhaps you like to go to work, and not let anyone know it’s your birthday. Whatever you choose, make it a special day for you. In short, it’s a day to be selfish, and let other people do special things for you. Just remember to do the same for them when their birthday comes around!
If you’re the type to be regularly disappointed you never receive the present you would like, buy it for yourself. Wrap it up and open it at the end of the day. On of my best birthday presents I chose myself. A new sewing machine. It would have been hard for my husband to choose the right one. If you’re thinking a sewing machine might be a nice gift for yourself, check out How to Choose the Best Sewing Machine, for some tips on what to look for.
This is How I Plan to Spend My Special Day
First of all, I’ll sleep in. For me that’s 6:30. Then have tea and breakfast in bed while looking at Instagram. Later, I think we’ll take the ferry to the mainland, and walk to a Seafood restaurant for lunch. Next we can go for a walk, come home, and lite a fire in the fireplace. I’ll probably drink lots more tea, and reread a favorite book until my husband has dinner fixed. Finally we’ll eat chocolate cake and then bed. The perfect day for me!
I hope some of these birthday ideas for introverts will help you celebrate your day. Here’s wishing you all an amazing 2023, especially on your birthday!
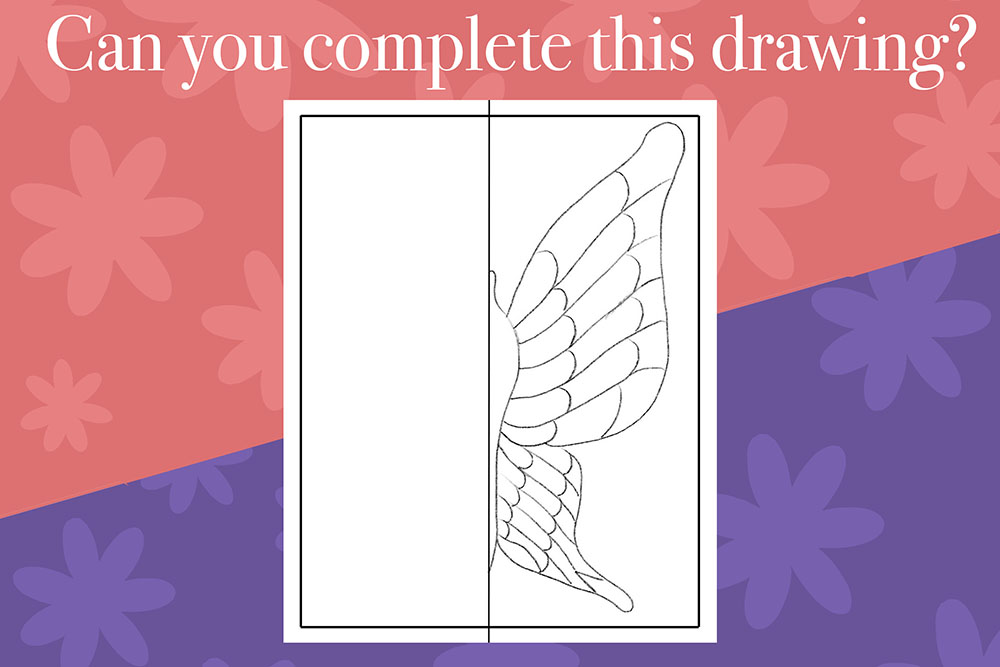
On both Instagram and Pinterest, some of the most popular accounts are by portrait artists or character creators. Not only do many of us love to draw the human face, we love to look at drawings and paintings by other artists who seem to have it all figured out, while we still struggle. Drawing warm up exercises reduce the stress of staring at a blank page.
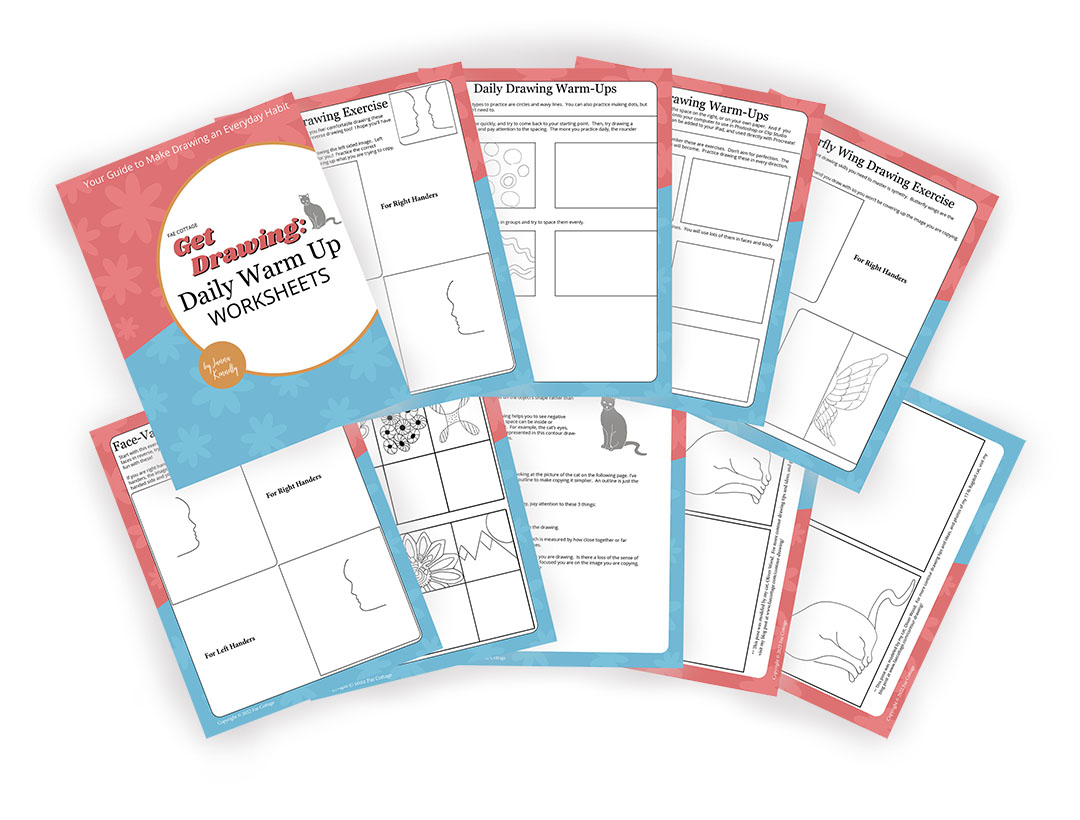
To help you get started making drawing part of your daily routine, I’ve created these Drawing Warm-Up Exercise Worksheets. Just 5 or 10 minutes is all the time you need!
Why Beginner Artists Often Draw Symbols Instead of What They Really See
What do you think of when you hear the word, symbol? Those of us old enough might think of Prince, the musician who changed his name to a symbol, and then changed it back again.
Or you might think of Horus, the Egyptian god and the all seeing eye. That is more closely related to what I’m talking about. For example, right now, you might even be imagining in your minds eye the all seeing eye of Horus. We see it everywhere, it’s even on our money. But the fact that you can picture it in your mind right now is evidence that this symbol is imprinted on your psyche.
Symbols are literally etched into our brain at a very young age. When you look at many of the drawings of public school children, they are full of symbols. For instance, why did we draw people as stick figures? People don’t look like sticks.
Or why did we draw little rectangular houses with triangular roofs, square windows, and a rectangle door? Anything can become a symbol if we repeat it enough times.
Over the past couple of decades, there has been a lot of research in the art field on ways to help our brains decode the symbols, and draw realistic images more easily. Drawing reverse images is one of these techniques.
Children Learn to Memorize Symbols as a Short Cut
As children, we recognize these symbols, repeat them, and often even correct other children who do it “wrong”. I remember working on a drawing in Sunday school one morning, and I drew a big round sun in the sky behind my house. A classmate noticed my drawing, and promptly told me my sun was “all wrong”. Then proceeded showing me how a sun should be drawn, right on my paper with her crayons.
For a long time after that, I only drew my suns up in the corner of my pictures, a wedged shaped sun with most of it disappearing into imagination land off the paper. Maybe I even saw another child’s drawing, and told them their sun was wrong too, just like had been done to me.
But deep inside I still liked my round sun because when I looked up into the sky, that is what I saw, not a pie slice shaped sun with the rest of it disappearing off the sky.
Recalling Childhood Images
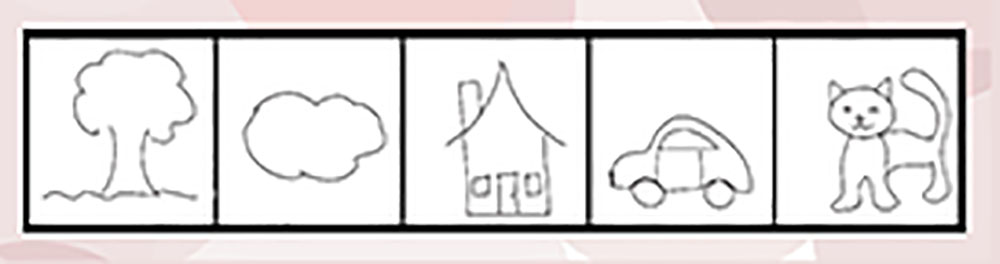
Here are some more examples of objects that we learn symbols for as children:
tree
cloud
cat
dog
fish
building
car
hair
nose
mouth
face
If you can picture many of these words the way you drew them as a child, what happens when you start to draw something now as an adult who wants draw things realistically or even imaginatively. Your brain calls up these images.
For example, as children we often drew eyes over and over. They were sort of a fish shape with a circle and a dot in the middle.
However, realistic eyes can be drawn in many shapes, depending on the angle of the face we are drawing.
How to Stop Drawing Symbols and Start Drawing What Your Eyes Really See
First, realize your brain naturally does this. It’s easier for it to store information, and then connect it to all sorts of other information. Ask yourself questions as you draw such as, “What is the shape?”, or “What is the angle?”
Try not naming or calling what you are drawing an eye, or a nose. Because the analytic part or the brain where symbols are stored loves to name things. Then it connects the names to the symbols. Even though this part of the brain stores the symbols, it doesn’t know how to draw.
For example, the part of the brain that stores symbols doesn’t know that an eye really looks like. One of the reasons most people feel faces are so difficult to draw is because we tend to draw the features as symbols, and then they don’t look correct.
Make Drawing Warm up Exercises Part of your Routine
Try some left brain/right brain exercises such as:
Turning your reference photo upside down.
Draw with your non-dominate hand.
Draw the outline of an image while not looking at your paper
Do drawing warm up exercises for 5 to 10 minutes as part of your daily drawing routine. Also, download my free Drawing Warm-Up Exercise Worksheets, and try some of these exercises to improve your drawing.
What exactly is warm up practice anyway?
Favorite drawing warm up exercises varies, I’m sure, from artist to artist. But generally, it’s a way to quiet our mind before we start to work on our drawings. Or to spend extra find working on basic skills, for example drawing straighter lines and perfectly round circles. Some artists draw several pages of circles, or straight and curved lines.
However, one of my favorite types of drawing warm up exercises are copying little abstracts that I call “puzzle pieces”. This is an exercise I learned while observing the children’s art class my son took Saturday mornings while in grade school.
Partly I think it was just used to help the children quiet down and focus. But as a side benefit, it also taught them to see and copy more accurately what they were looking at. In addition, since the drawings are small, they didn’t feel overwhelmed in completing them.
These “puzzle pieces” are a lot of fun and a great warm up for we adults too! I created a drawing exercise for myself that is a little more complex than the one the grade school age children were doing. It’s included in this free Drawing Warm Ups Workbook!
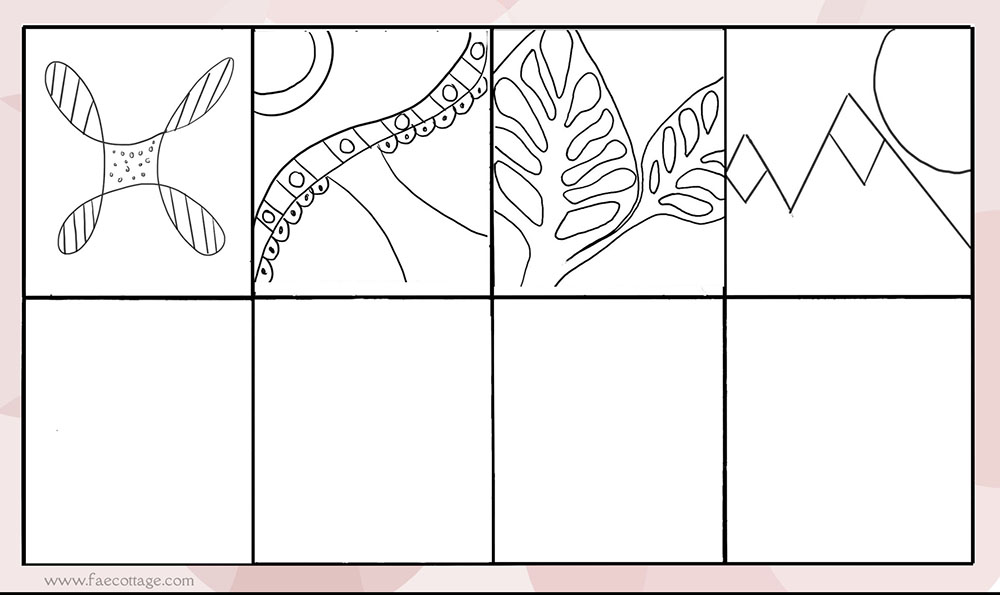
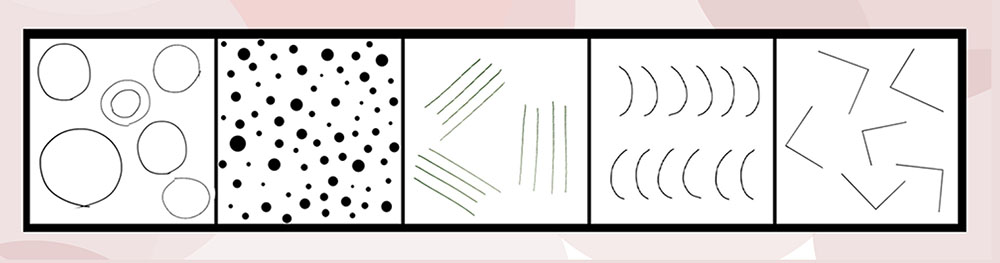
A Drawing Warm Up Exercise to Try
Practice drawing the 5 basic line types as part of your warm up routine. These line types are: circle, dot, straight line, curved line, and angle line. Most anything you want to try drawing, including faces, are made up of these 5 line types.
.
Additionally, since the warm up images are abstract anyway, there isn’t as much judgement about ourselves and our abilities if we do it wrong.
In conclusion, don’t be afraid to tackle face and figure drawing. Understanding why faces are so difficult to draw accurately helps you improve faster. You are more likely to notice when you are drawing the features as a symbol you learned in childhood rather than the way it really appears.
When you catch yourself drawing a memorize symbol, look at the reference again, and ask yourself “What is the angle and curve of that line?” or some other question that reminds you to really look at the shapes and the forms in the photo.
Time focused on drawing also reduces stress. If you want to learn more about how it can reduce anxiety, check out my post, Little Known Benefits of Learning to Draw.
Not only do drawing warmups help to improve your drawings, they also help to create a routine which in turn encourages you to draw more! Remember to grab your free copy of this drawing guide.
Recently, I lost someone very special in my life, and an inspiration to my sewing. My aunt is my shining example of how to live a great life. Our birthdays are just 4 days apart and we shared our celebrations for many, many years.
Later this week would have been her 103rd birthday. She didn’t make it to 100 like she’d planned, but she lived a great life. Those were the words of the social worker who talked to her for an hour and a half on the last full day of her life.
Motivation to Start Your Own Business
This was a prom dress she sewed for my cousin.
My aunt owned a maternity shop for many years. She was a brilliant seamstress and a major influence to my own clothing design and sewing. She sewed for herself, our family, and later for her business.
Many of us are dreaming of starting our own business today. I hope my aunt’s story will inspire you.
Sometimes you don’t need to know your destination. If you have a great mindset, you just end up in the perfect place. Eventually. My aunt was a fantastic example of that. When she need a job, one just seemed to fall into her lap, my mother always said. For her, life never seemed to be a struggle.
Right after graduating high school in the 1940’s, she got a job her first job working for a furrier. She sewed linings into fur coats and made ladies gloves.
Later, both she and my mother worked for a high end dress shop where the Nordstrom brothers had the shoe concession, before they every owned a department store of their own.
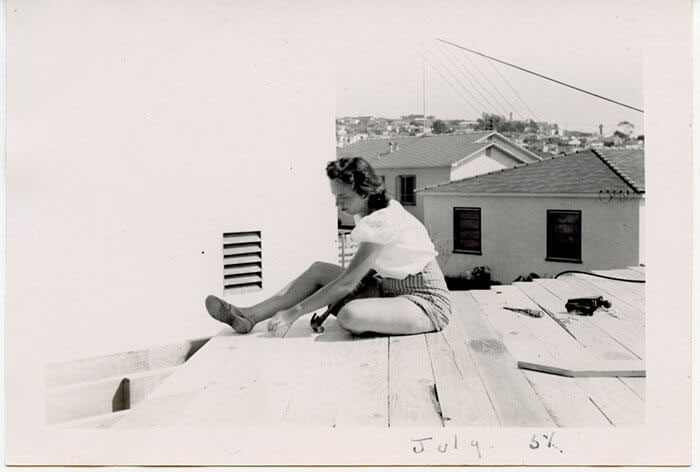
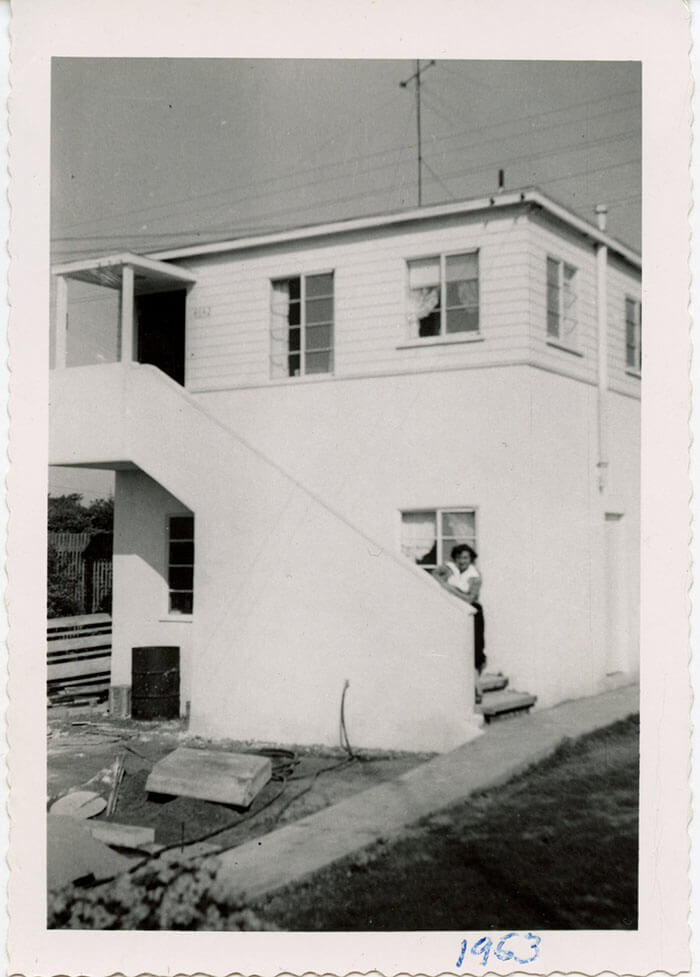
After marrying my uncle, they moved to his hometown in Southern California where they bought a small cottage several blocks from the beach. A few years later, they built an apartment over a garage together, and rented out the house, so that they could enjoy the view of the ocean.
But even though my grandparents visited for a couple of weeks every year, she missed her family.
The Start of Mother to Be Fashions
In the early 1960’s after returning to the Pacific Northwest, she went into business with a partner she had previously worked with in retail many years earlier, and together they owned a small maternity boutique.
She made the wise decision that they should offer clothing in smaller sizes like 2, 4, and 6, because she realized smaller women got pregnant too. At the time, the department stores only offered larger sizes in maternity clothing.
Besides selling ready to wear, in their early days, they also had clients who came in with a magazine photo of a garment they wanted created.
She copied the design by altering and combining commercial patterns. One of her proudest moments was when she was asked to create the inauguration dress for the wife one of the Washington State’s governors.
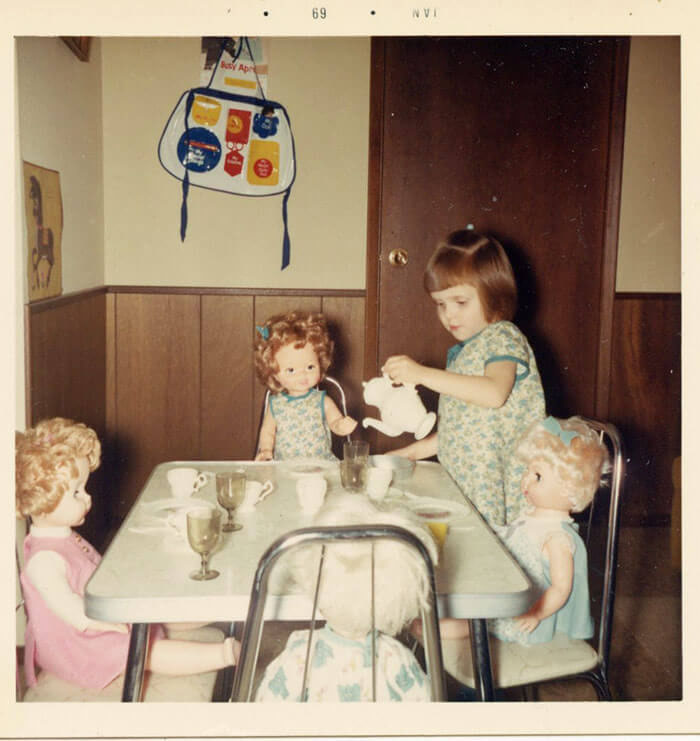
When I was a little girl, she sewed countless dresses for me. Some of them had matching outfits for my doll.
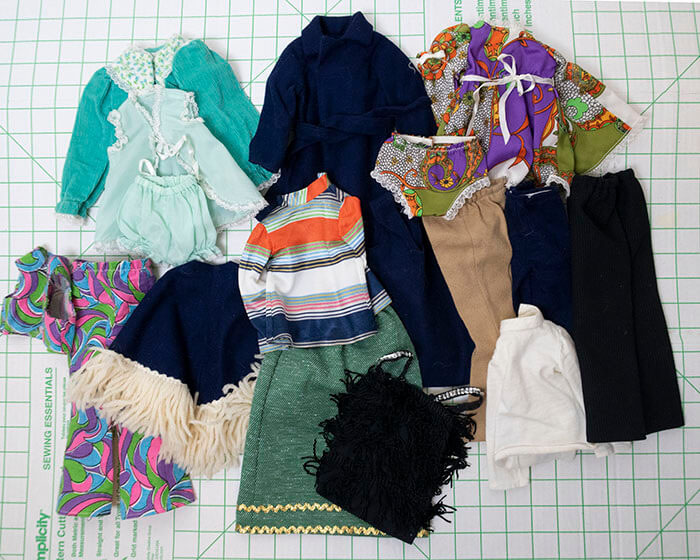
I also had Crissy and Velvet dolls. They were the growing hair dolls popular in the 70’s. As soon as I got my first Crissy doll, my aunt went to work and sewed many, many outfits for her.
When I grew older and wanted to get rid of all my dolls, my mom wouldn’t let me get rid of Crissy and Velvet, and all the clothing my Aunt Winnie had made. I’m now so grateful that she made me save them!
And I still have them! Maybe someday I’ll have a granddaughter.
Daily Practices to Live a Great Life
Most of us will never be famous, nor would we want to. But we can be important to those close to us, to our family and friends, and we will always be remembered. We can have a great life, just like my aunt did.
These are the lessons I learned from my aunt:
Be generous with you time and your talent.
Live on less than you make and you will have a long and secure retirement
Keep you mind active by traveling to new places, and never stop learning
Don’t fall victim to negative thinking
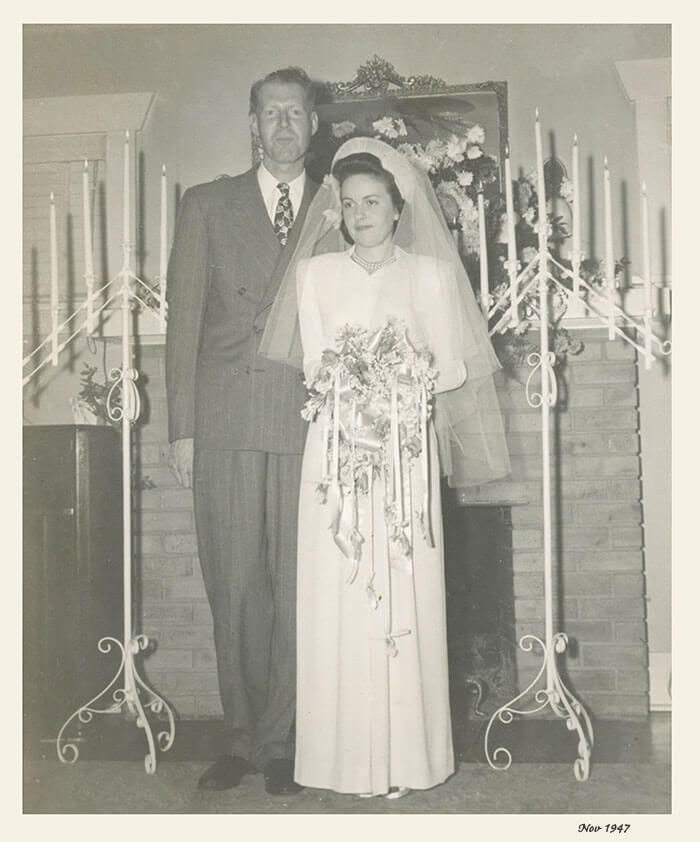
And this is the lesson that I wish my aunt could have taught me: Don’t be judgmental of people, but to just love them as they are. I learned that lesson better from my Uncle Ralph, her husband of over 50 years.
We all Want to Live a Great Life
Sometimes we get so caught up in our daily routine and stresses that we forget the thing that is truly most important. Having a loving relationship with those close to us, such as our family, and our closest friends. Also, we forget to live with grace and forgiveness.
My aunt loved fashion design, and although she never became a famous designer, she knew it was better to lift others around her up rather than stepping on them to get to the top herself.
Even though she was partner in a women owned business started in the 1960’s, she never considered herself a feminist.
In fact, I think she hated the word.
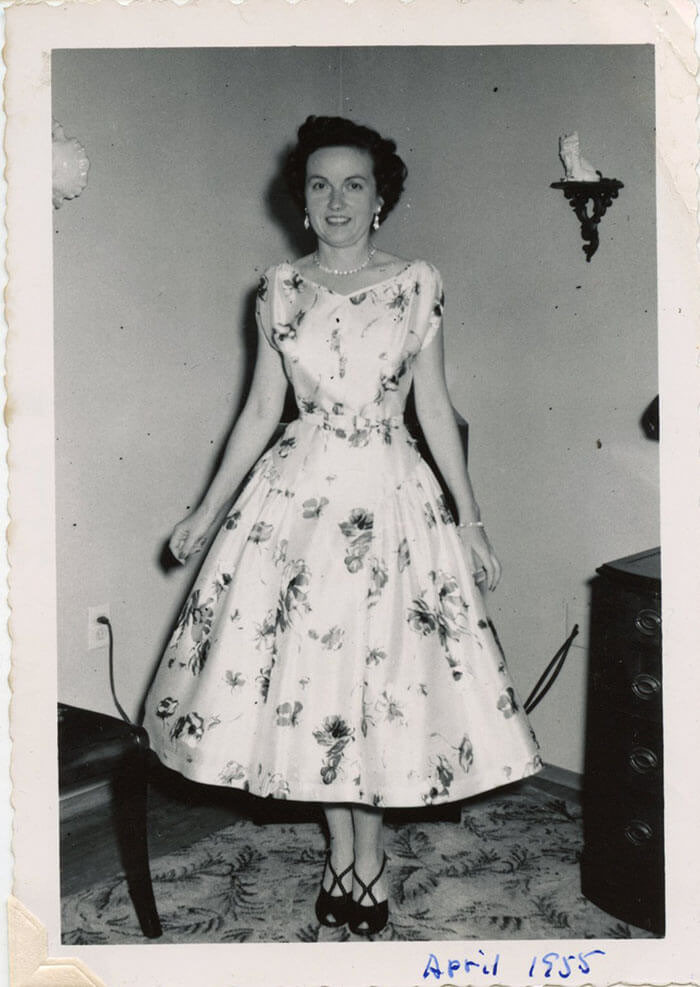
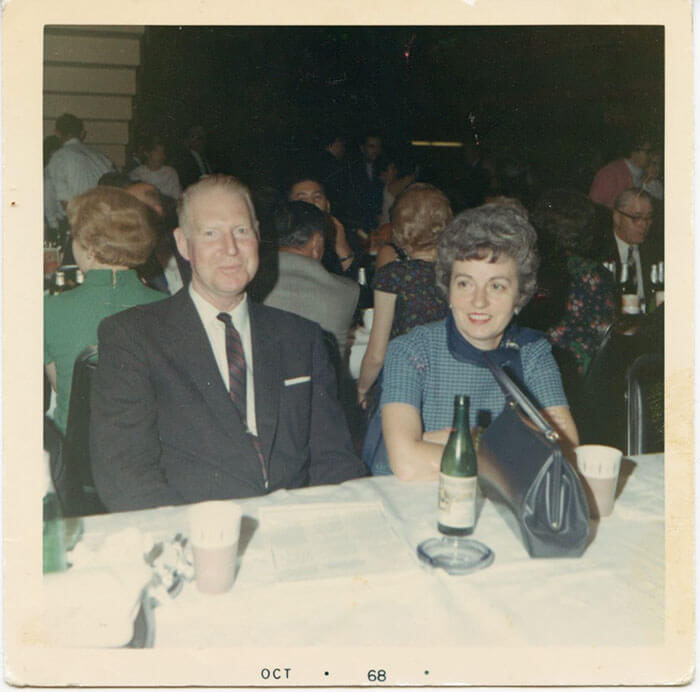
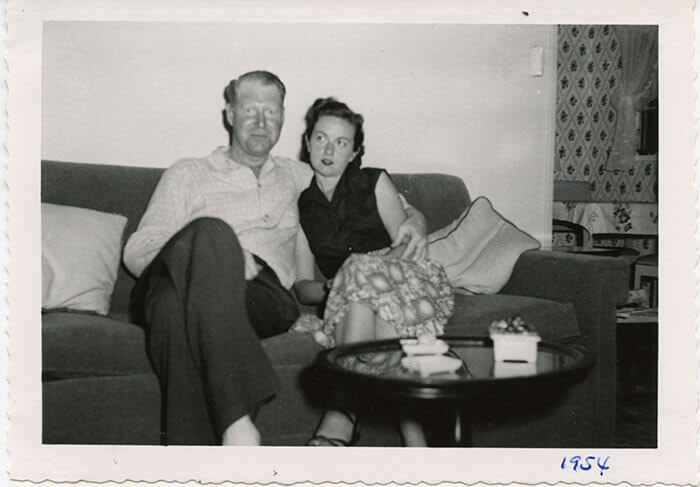
She came from that generation of women who believed in looking feminine, and taking care of their appearance. Even if she had nothing better planned for her day than working the crossword puzzle, having tea with her niece, or preparing a delicious dinner for her husband, she always looked lovely. She gracefully balanced work and home life.
When her husband retired and wanted to travel, she sold her business, at what turned out to be exactly the right time.
For over 20 years they traveled up and down the West Coast in their motor home, spending winters in San Diego. In their 80’s they took up golf together when my uncle’s doctor told him it would be good for his heart.
I miss my aunt and uncle both, and I hope where ever they are now, they are having a great life together. The hardest thing of growing older is losing those we have known our entire lives, and can never be replaced.
Yesterday I was feeling rather sad. Once the Christmas holidays are past, it sometimes takes me a few weeks (or months) to find something else to look forward to. January is a time to refocus on personal goals.
It’s easy to say another year just sucked, but that would make it even more true. So look with me on the bright side of things. What was good about 2024 for you?
Here’s my list:
1.) My husband still gets to work from home even though the pandemic is finally over.
2.) I finally lost all the weight I gained after hurting my back a couple of years ago.
3.) I created a couple of guided journals, and I’ve been doing lots more drawing!
4.) My son started college online, and I’m learning graphic design along with him.
5.) I finally started my blog!
Now, it’s your turn. Can you think of at least 5 things that were good about this past year?
Forget Resolutions You Won’t Keep. Set Personal Goals Instead!
As we move into a new year, now is an excellent time to reflect on the things we accomplished, recognize the areas where we fell short, and think about goals we want to achieve this next year.
Did you use this time over the holidays to maximize your creativity? This holiday season, I enjoyed time with my family and my pets and worked on my goals for the coming year.
I think goals are better than resolutions. Goals have specific steps you need to take to reach them. In contrast, resolutions define an action you plan on continuing throughout the year.
Why We Should Share Our Goals?
Sharing goals motivates us to stick to them! Accountability is one of the reasons Weight Watchers works so well. The fear of stepping onto the scale in front of other dieters would be enough to keep many of us from buying that doughnut at the supermarket or eating those graham crackers right before bedtime.
I’ve never belonged to Weight Watchers, but I took public speaking classes in college. The result of not preparing and practicing my speech would mean me standing at the podium in a state of total fear and unpreparedness. The result – I prepared and practiced more than any of the more extroverted students. Despite my shyness, my speeches were good enough that my professor offered me the lead in his play!
Public failure, whether it’s not meeting a goal or not being prepared, is a great motivator!
Feel free to join in with your personal goals for the coming year. Share the things you achieved in 2023, as well as the stuff you didn’t finish.
Let’s do this together!
Sharing goals keeps you committed to them. Especially if we have to come back and report whether we’ve met them or not.
Who Keeps You Accountable?
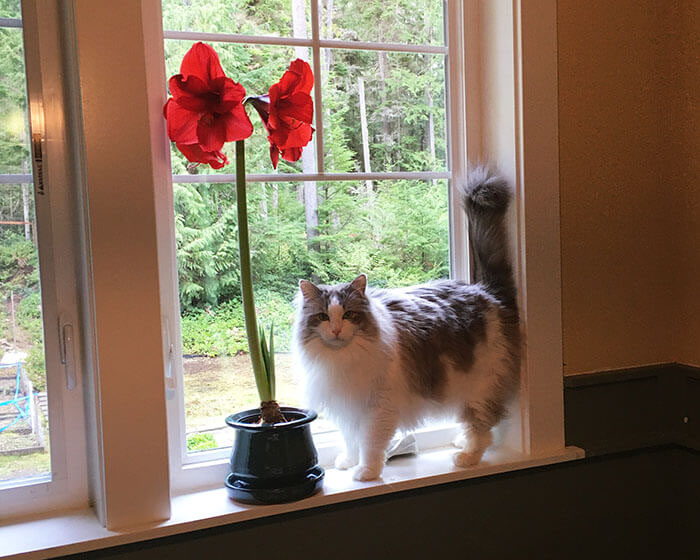
And don’t say your cat! Mine sleeps most of the time so he has no idea how I spend my day. However, kids can be a good bet. Any of you with teenagers know how they can help with our personal goals. If we tell them we will complete some project, they are constantly checking on us.
“Mom, what are you doing now?” my son asks from the kitchen
“I’m just getting ready to start sewing,” I call back.
Actually, I’m playing Sims 4 on his computer. But now I’m closing the game and opening the sewing machine up again. Yeah, accountability. Sometimes it sucks! But it keeps us moving forward.
Try These Other Steps to Setting Personal Goals
1. Write down your goals.
2. Make sure they are achievable.
3. Schedule a time each day to work on them.
4. Make yourself accountable to someone.
Remember, just writing down your goals makes you more likely to achieve them. And if you review them occasionally, that’s even better! When you review your goals periodically, you can ask yourself, “Is this something I still want?” Sometimes, you will find you no longer want that goal and can cross it out, but more often, what you want has changed a little. This is an excellent opportunity to rewrite it into what you want now, not 6 months ago.
My Top 5 Goals for 2024
I’m not ready to share some of my goals yet, but here are 5 I can.
1.) Cast one of my hand-made ball-jointed dolls into resin. (I make dolls BTW)
2.) Finish all my craft projects
3.) Get my house completely organized to find missing art supplies.
With spending so much time indoors in the wintertime and cooking more family meals, there’s lots of house cleaning to do. It’s okay to share the work with others and ask for help.
That allows us to take a long walk or relax with a cup of tea and work on a word search puzzle. One of my favorite indulgences, when it is snowy outside, is to drink hot chocolate and watch an old movie in the middle of the afternoon. It’s an extra special reward.
Sometimes, we get so caught up in the stuff we must do, but we need to give ourselves a relaxation break. Then, when we come back to working on our goals, we can stay more focused.
My fun this week was taking my dog for a walk on a beach near our house, making everyone in our household afternoon lattes each day, and finishing reading Winter Solstice, a novel by Evelyn Pilcher that I read at the start of every winter.
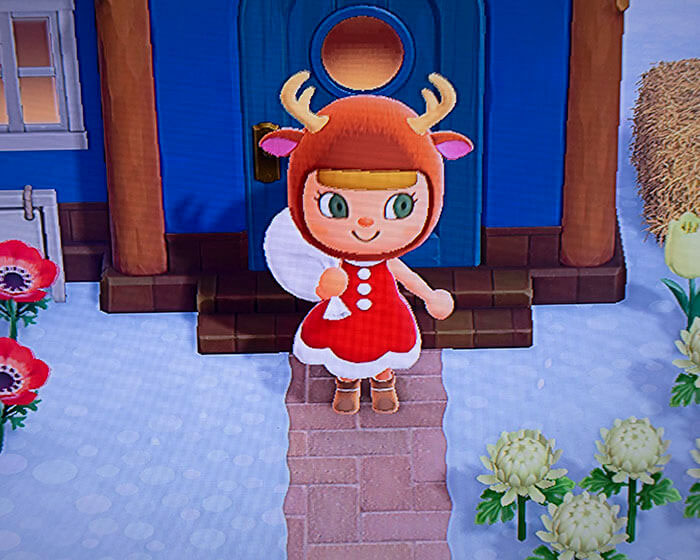
Yes, I played a little Animal Crossing too!
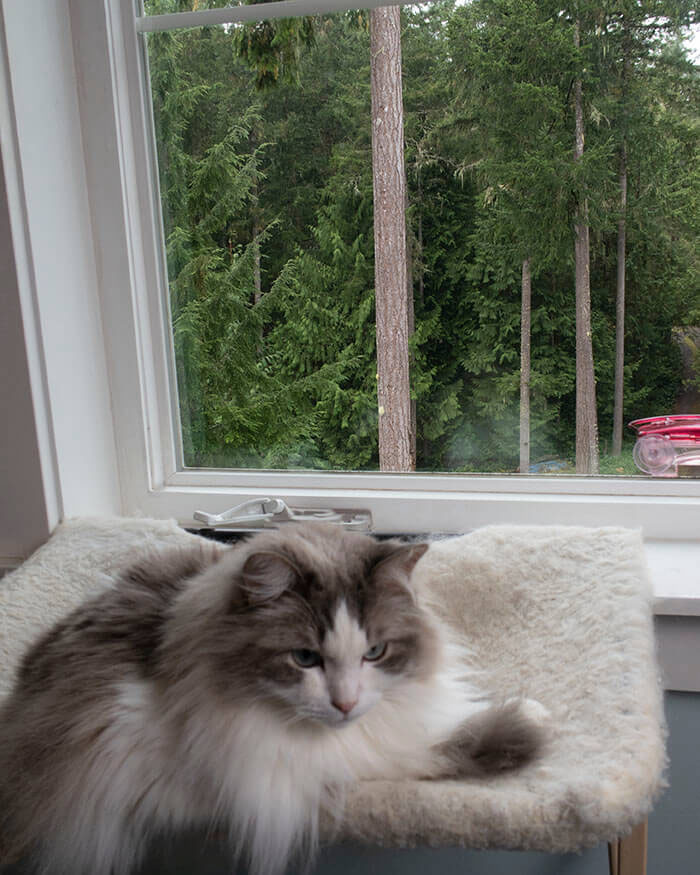
However, you can live without cable TV or Netflix, I’m happy to report! And it gives me more time to work on my goals. Also, I took some photos of the trees in a nearby forest to use on my blog or as drawing/painting references. In conclusion, keep your personal goals from starting to feel like an extra job. Take some time for yourself and do something fun, too.
What’s on your Christmas wish list? If it’s a new sewing machine, I have some tips what to look for to find the best sewing machine for your budget.
Two of my favorite brands are Pfaff and Bernina, but I recommend you do your own research before you go to the store to find the machine that best fits both you and your budget.
Whether you sew for yourself, your family, or your dolls, choosing the right machine is essential. I learned to sew on my mom’s Singer sewing machine. Even though it couldn’t finish seams, it was the best sewing machine to learn on. It sewed forward, backward and zigzag. If you popped a little plastic disk into the top, it could sew some fancy stitches too. It was made of cast metal, made in the U.S., never needed servicing, and seemed like it would last forever. All we had to do was oil it once in a while.
We used that machine a lot. My mom sewed loads of clothing for both of us. She also made doll clothes, and craft projects.
I made dozens of beautiful Vogue pattern dresses, and other designer clothing. I couldn’t professional finish the seams, but many items were lined.
When I was in my early 20’s, my mom and I started a teddy bear making business from home. We made dozens of teddies on that machine.
While in college, I sewed collars onto sweatshirts for a local clothing manufacturer. I drove my mom’s station wagon to their factory on Monday mornings, and loaded up boxes of sweatshirts and t-shirts, then spent all my free time during the week sewing collars onto them.
That machine worked hard!
And finally it quit.
The Wrong Way to Choose a New Sewing Machine
Have you ever felt intimidated walking into a local sewing machine store? I know I did. These are some of the mistakes I made in choosing a new machine.
I didn’t have a clear idea of what I was looking for, but thought a machine that did a bit of embroidery would be nice.
What I walked out of out of the store with was probably not the best sewing machine for my needs. The store advertised a less expensive machine I thought I wanted, but the sales person convinced me to purchase a used Pfaff machine that was slightly more expensive. It has way more functions than I will ever need.
The Pfaff had been completely reconditioned, and was in perfect working order. It not only sewed dozens of stitches and did embroidery, but if you plugged in another card it would create really elaborate designs. I thought that it could embroider designs I created myself, but that wasn’t the case without purchasing an expensive software package. Also it came with a quilting frame. I don’t quilt, but maybe someday …
If you’ve been following my Friday posts where I share both artwork and crafts, you’ll get an idea of how much I sew!
To help you not make all the mistakes I did in my first machine purchase, here are some tips:
How to decide what is the best sewing machine for you
First of all, plan do a lot of research. If you purchase a machine that does way more than what you need, it may be a lot more difficult to learn to use.
Take your time looking around and comparing features. Try out different models in the store.
Understand that even though your mother or grandmother’s machine might have lasted 40 years, new computerized machines don’t have such a long life span. This is something to think about if you purchase a used machine. I am living in fear of the motherboard on my Pfaff going out.
If the sales person is too pushy, walk away.
Free classes are often offered with the purchase of a machine. Take them! One on one instruction is way better than even the smallest class. Even the best sewing machine won’t sew beautiful clothing if you don’t know how to use it.
Check to make sure that there is a technician in you area were you live who has certified training to work on the brand of machine you choose.
We recently had a repairman come to our house to repair an appliance and I was talking to him about why machines don’t work as long as they used to. He told me about how most refrigerators have ice machines these days, and are one of the most frequent causes for needing repairs. Some of the expensive new models even have television screens in the doors! They break all the the time. His advice about kitchen appliances also applies to sewing machines. Don’t purchase features that you don’t need.
I’m still learning to use my machine and going through the manual and tutorials another time. Someday I will feel as confident using it as I did my mom’s old Singer. Maybe. I think the most important piece of advice is not to let the technology intimidate you.
November is not my favorite month, I must admit. This is especially true since I moved to a island over a decade ago now where the temperatures are even cooler than the city I previously lived. It seems I hardly turn the page on the calendar, and the rains begin to fall. Working on our art and craft projects helps us to forget about the chilly, wet weather outside, and focus on making it a creative winter.
During summer months, it’s easy to put creative projects on hold. The lawn needs mowing, the garden weeding, and our kids are home from school, and need us to create projects to keep them busy.
And even if you’re an empty nester living in a condo, in the northern hemisphere summer is a time to be out more, whether it’s camping, a beach vacation, or just dining out with friends. Many of us are home less.
Dark And Windy Days Mean Spending More Time Inside
The winds of November came early this year. They rattle the windows, which scares my cat, and as I sit here sipping my tea, somewhere not far away I hear the thud of a tree falling.
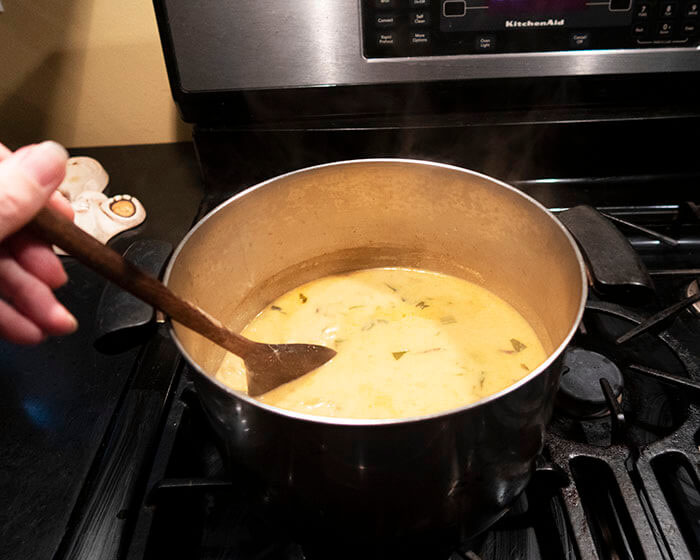
But what November is good for is building a cozy fire, cooking more soup, still taking long walks, but bundling up warmly first, and making myself a hot chocolate when I return home in the afternoon.
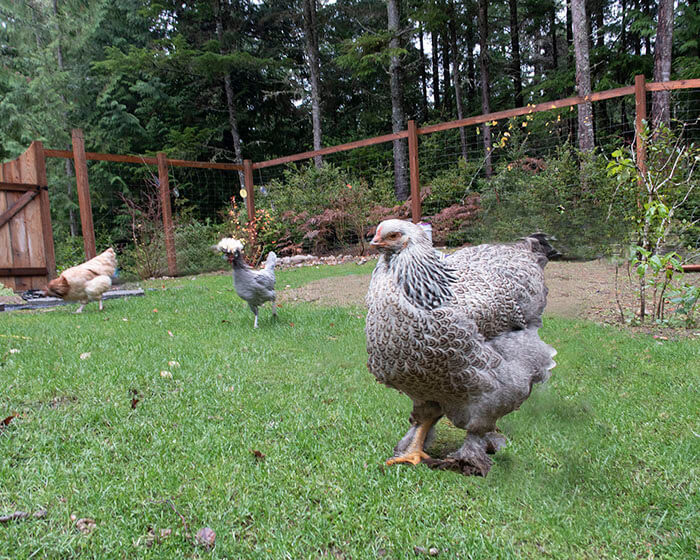
My garden is through for the year, along with spending hours outside weeding, mowing the lawn, and other outdoor chores. I’m happy to stay cozy inside working on my hobbies on these blustery November days. My chickens are molting now, (they always wait until the weather gets colder), and we’re lucky to find one egg in the nest boxes each day.
Ways to Make it A Cozy Creative Winter
Spending more time indoors reminds us to work on our projects. Maybe you make some of your own holiday decorations. November is a good time to get these completed. It’s also a great time to make a commitment to draw every day.
I believe that having good drawing skills is so helpful in improving whatever other creative hobby you enjoy, whether it’s needlework, sewing and designing patterns, painting or sculpting.
So I try to make it a goal to draw every morning for at least 30 minutes. It was harder to keep going over the summer as I got busy with other projects, but now is a great time to recommit.
Here are some ways to make creating a daily goal you keep:
Decide what you want to work on every day.
Set a time, and add it to your planner.
Create a cozy place to work.
Give yourself a reward at the end of each week.
Allow yourself a day off so you don’t start to resist your creative time.
Progress on My Doll Box
Besides all of my other daily projects I’ve scheduled into my creative winter, my husband is helping me to create some room boxes for my MSD sized ball jointed dolls. He worked more on it this weekend.
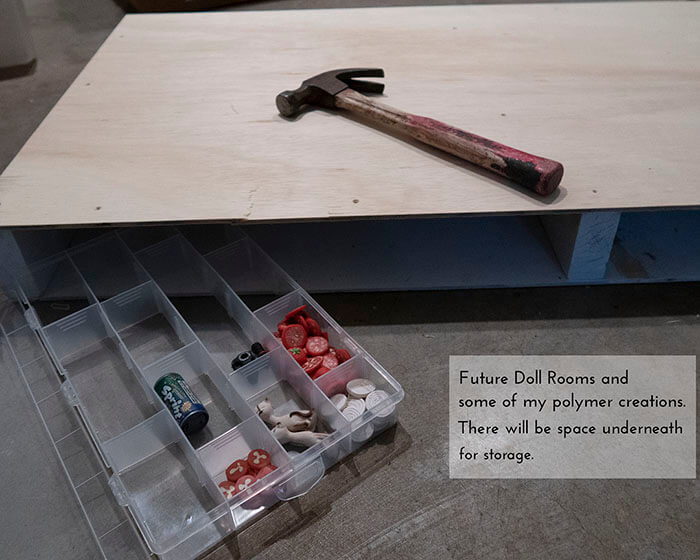
I asked him to make some little cubbyholes underneath where I can store my polymer clay accessories in these cute and handy storage boxes I found at Michaels.
As you can see, I’ve made a lot of tomato canes tomatoes. I’m getting ready to try making a BJD sized pizza. I also made miniature Japanese cat figurines that are copies of ones my aunt gave me when I was a girl. When my doll house is finished, I’ll set them on a bookshelf or night stand.
The other items in my box are the polymer clay onions I attempted making. And lastly, and a miniature camera I’m still working on. Yes, hamburgers, or veggie burgers, and pizzas are next on my doll to-do list!
A Sneak Peek at the First Floor
The windows were constructed a while ago using my husband’s scroll saw. I’ve now officially used the saw more than he has! My grandmother had a scroll saw for her craft projects, so I figured if my grandmother could learn to use an electric saw, so could I. The windows are patterned on the windows in my previous house in the Craftsman style, and also the garden window I had in my former kitchen.
This floor will just be 2 rooms, the kitchen, and the dining room. My son helped me to add the electrical, now I’m ready to complete the rest of the furniture.
With the long weekend ahead, I’m planning to get things finished up so we can move it up to my sewing room, and add some holiday decorations. I prefer to be spending time with my family and working on my crafts on Black Friday rather than out shopping.
Plan a Creative Winter to Reduce Stress
As the days get shorter, it’s the best time to have plenty of projects waiting for your attention. November is a great month to start learning something new!
So if you haven’t tried working with polymer clay, pick a simple project and make something for yourself, or your dolls.